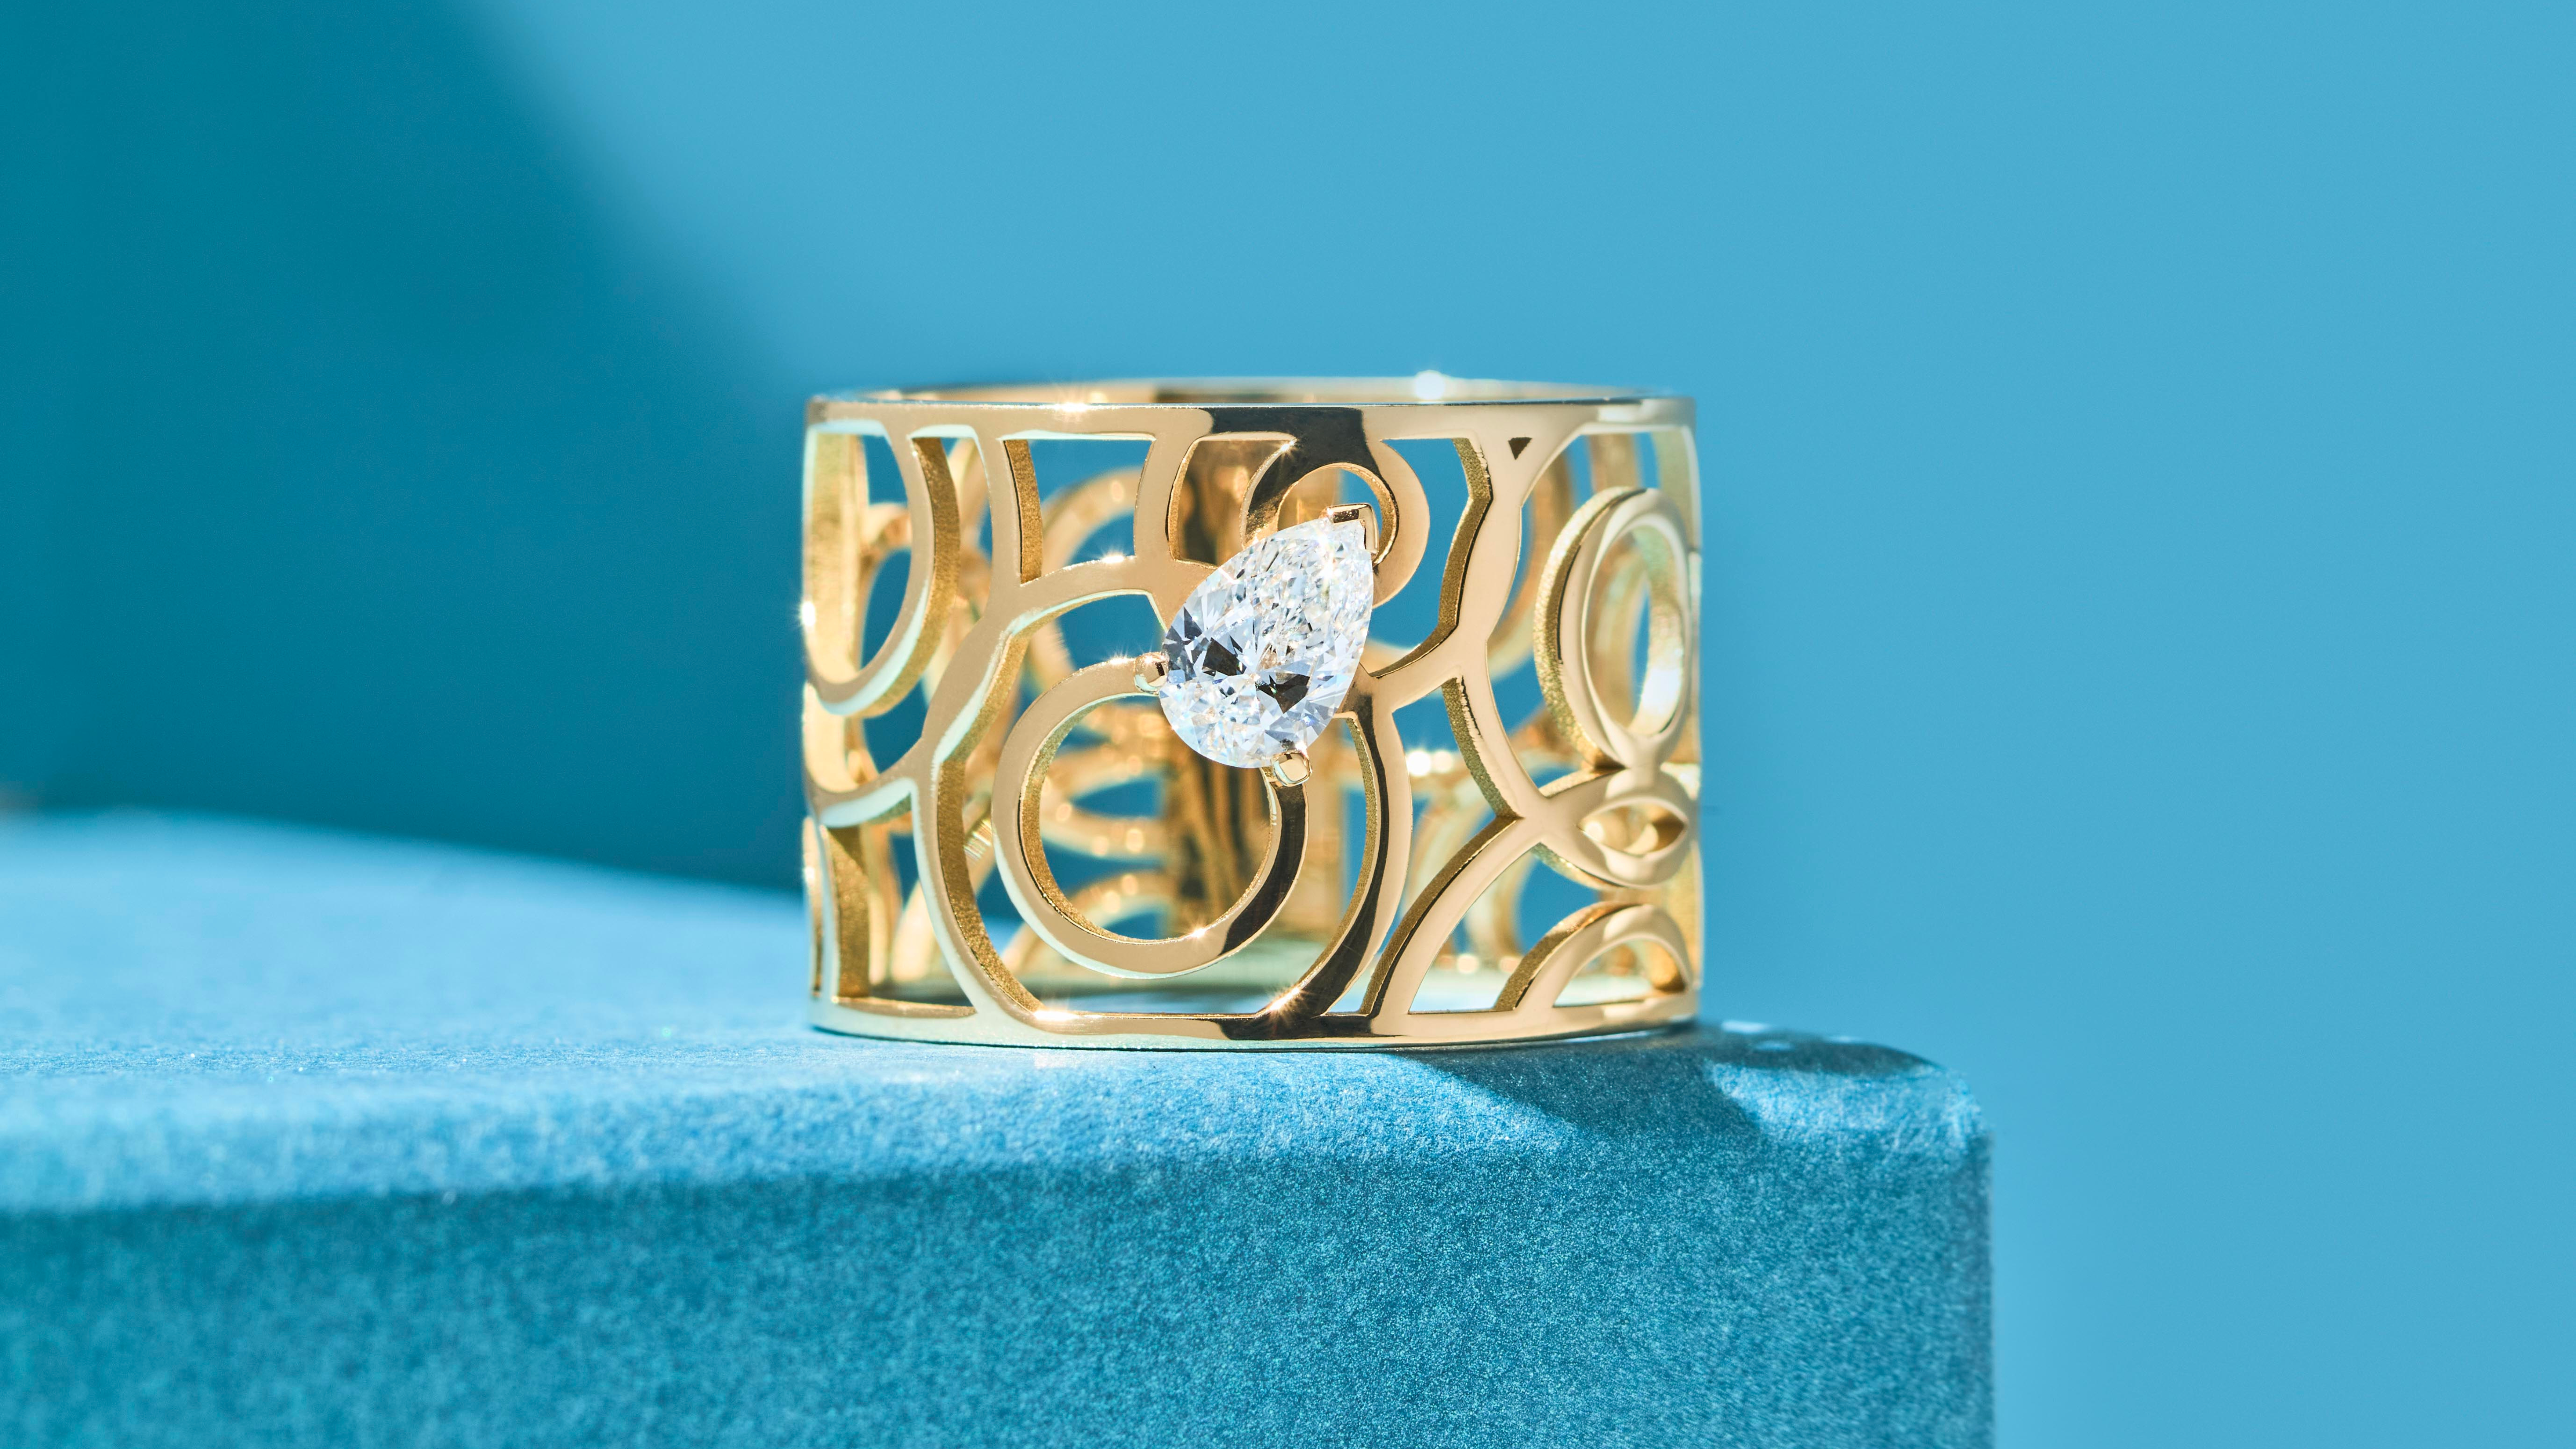
100% Made in France jewelry
The art of jewelry craftsmanship
Promoting French heritage with a combination of innovation, ethics and environmental sustainability, is our mission through ODACE jewelry.
Thus, all of our jewels are hand made in our french workshops. For several generations talented men and women have strived to preserve and pass down an incredible artisanal craftsmanship. To prove our engagement, our workshops have received a label from the RJC (Responsible Jewelry Council), Joaillerie de France, and are recognized by the Entreprise du Patrimoine Vivant (Living heritage companies). Proud of these trust-based partnerships, we reveal everything you need to know about the creation of the jewels and invite you for a behind the scenes look of our jewelry atelier.
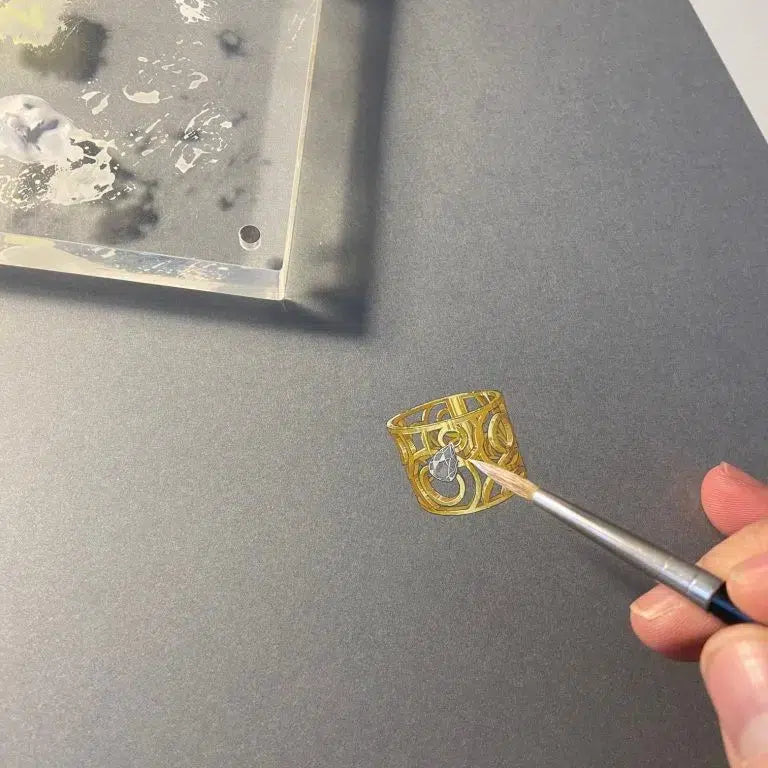
Step 1 :
The idea – the design
Everything starts with an idea, an inspiration. A trip, a movie, a poem : everything can trigger our imagination and creation. Pictures, words, and objects are gathered from our imagination to form an inspiration board, a moodboard. From these inspirations, the first sketches appear. These rough sketches become more detailed and precise as do our ideas. After multiple hesitations, we obtain a precise drawing for each of our jewelry pieces. The design is created.
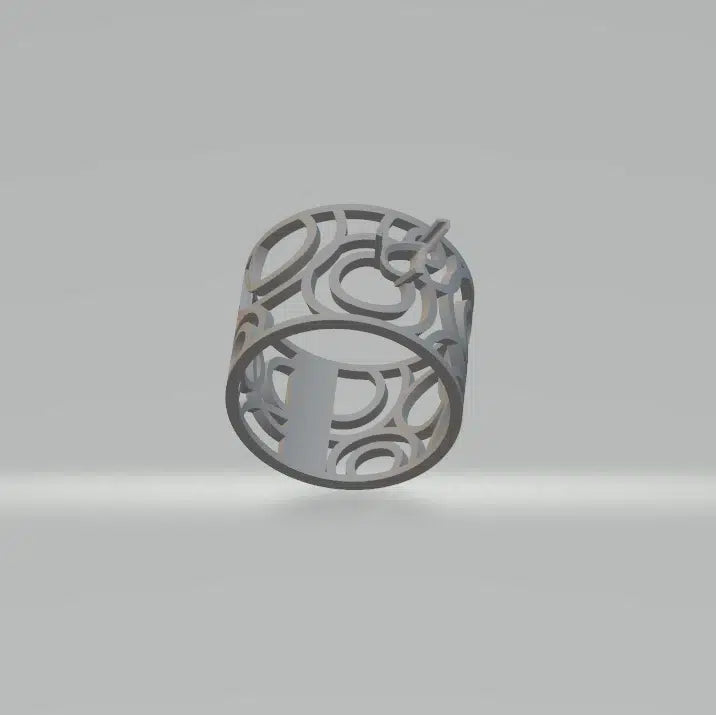
2nd step :
3D modeling
This drawing is then turned into a 3D model thanks to a powerful software to be more realistic. This is the moment when the jewel begins to come to life. We see real dimensions, volume, and multiple angles. This is the moment when the last adjustments can be made depending on technical constraints and the visual result.
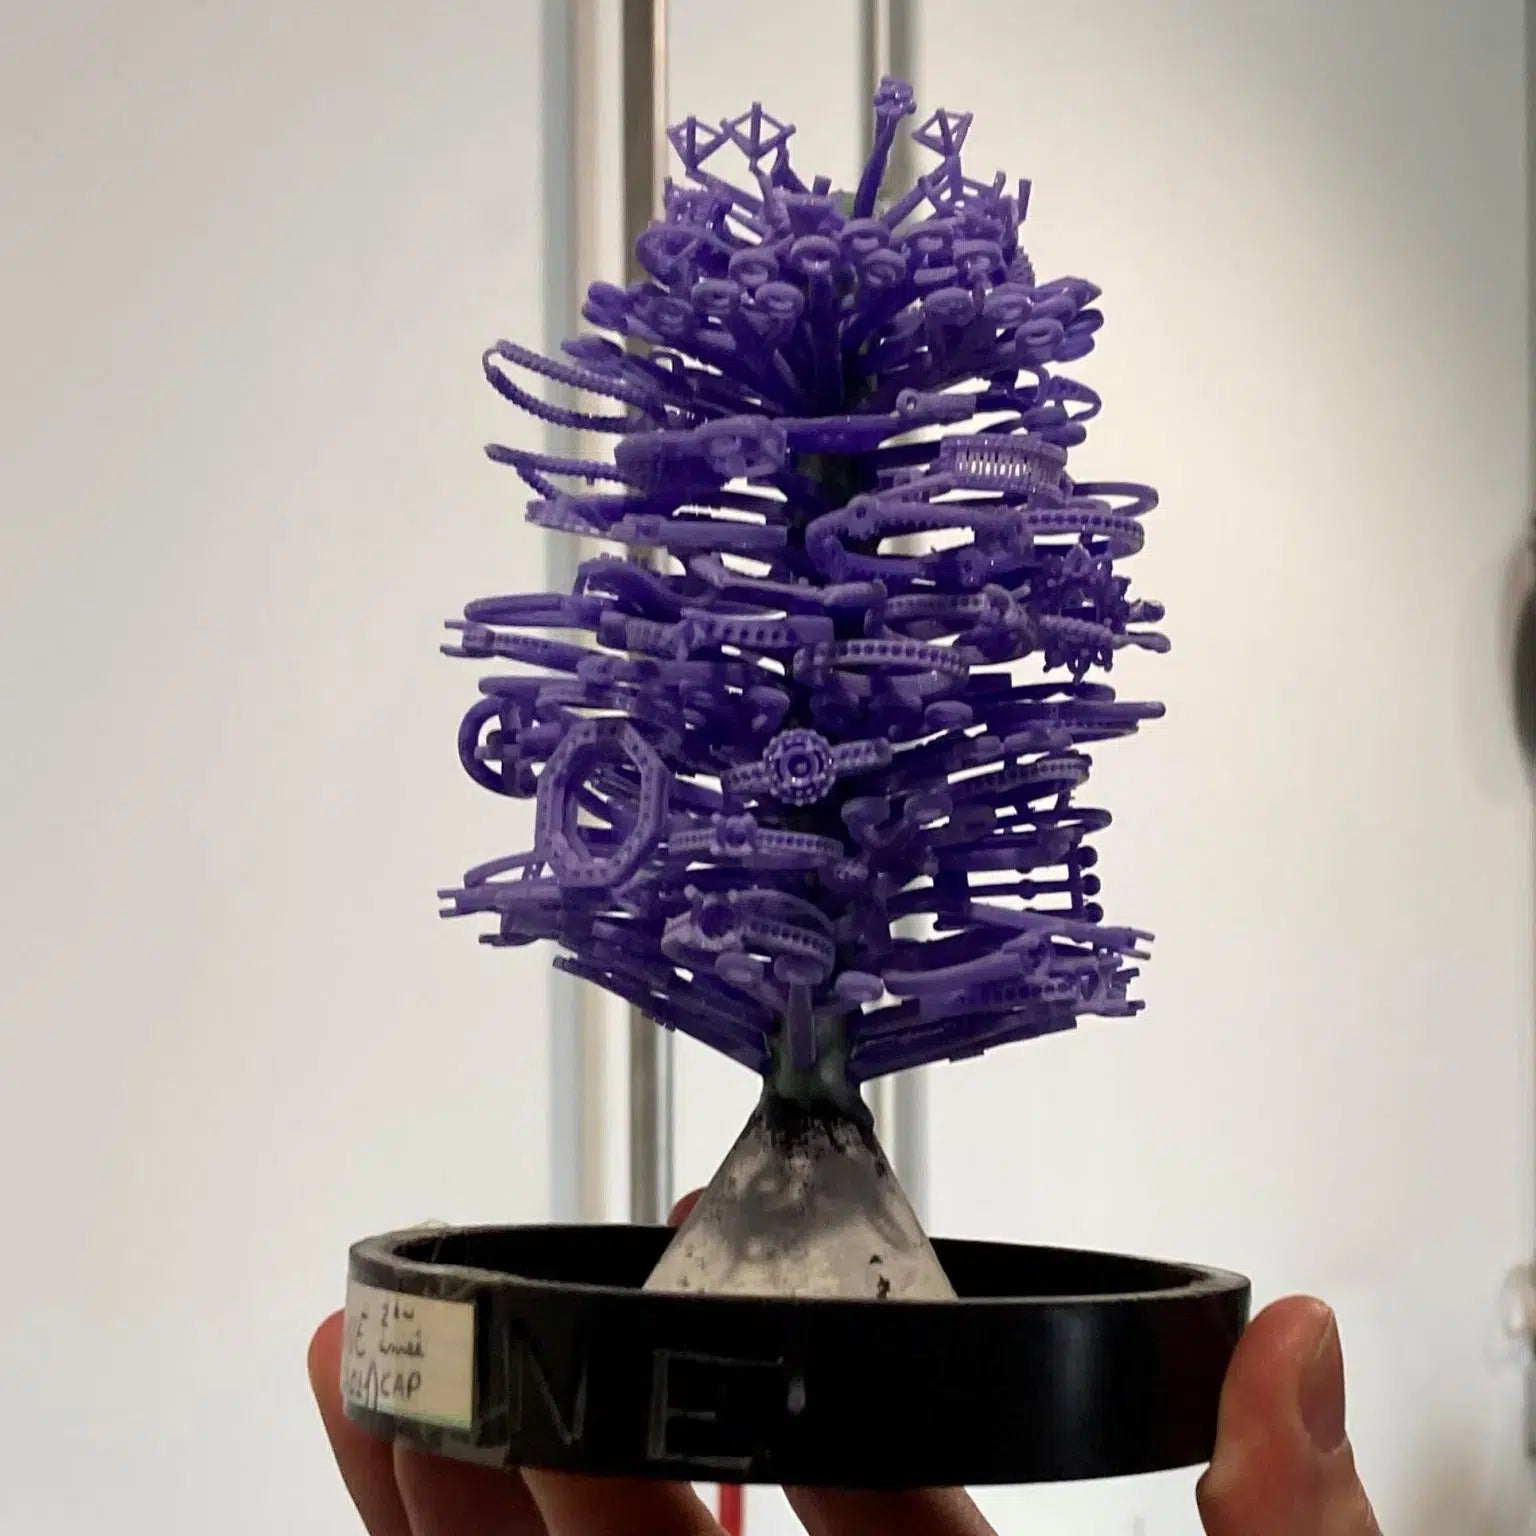
Step 3:
The wax model
Before the official design with precious metals, the jewel is made out of wax, by hand or with the help of a 3D printer. This model is then placed on a rod, next to other waxes to come form a tree wax-up.
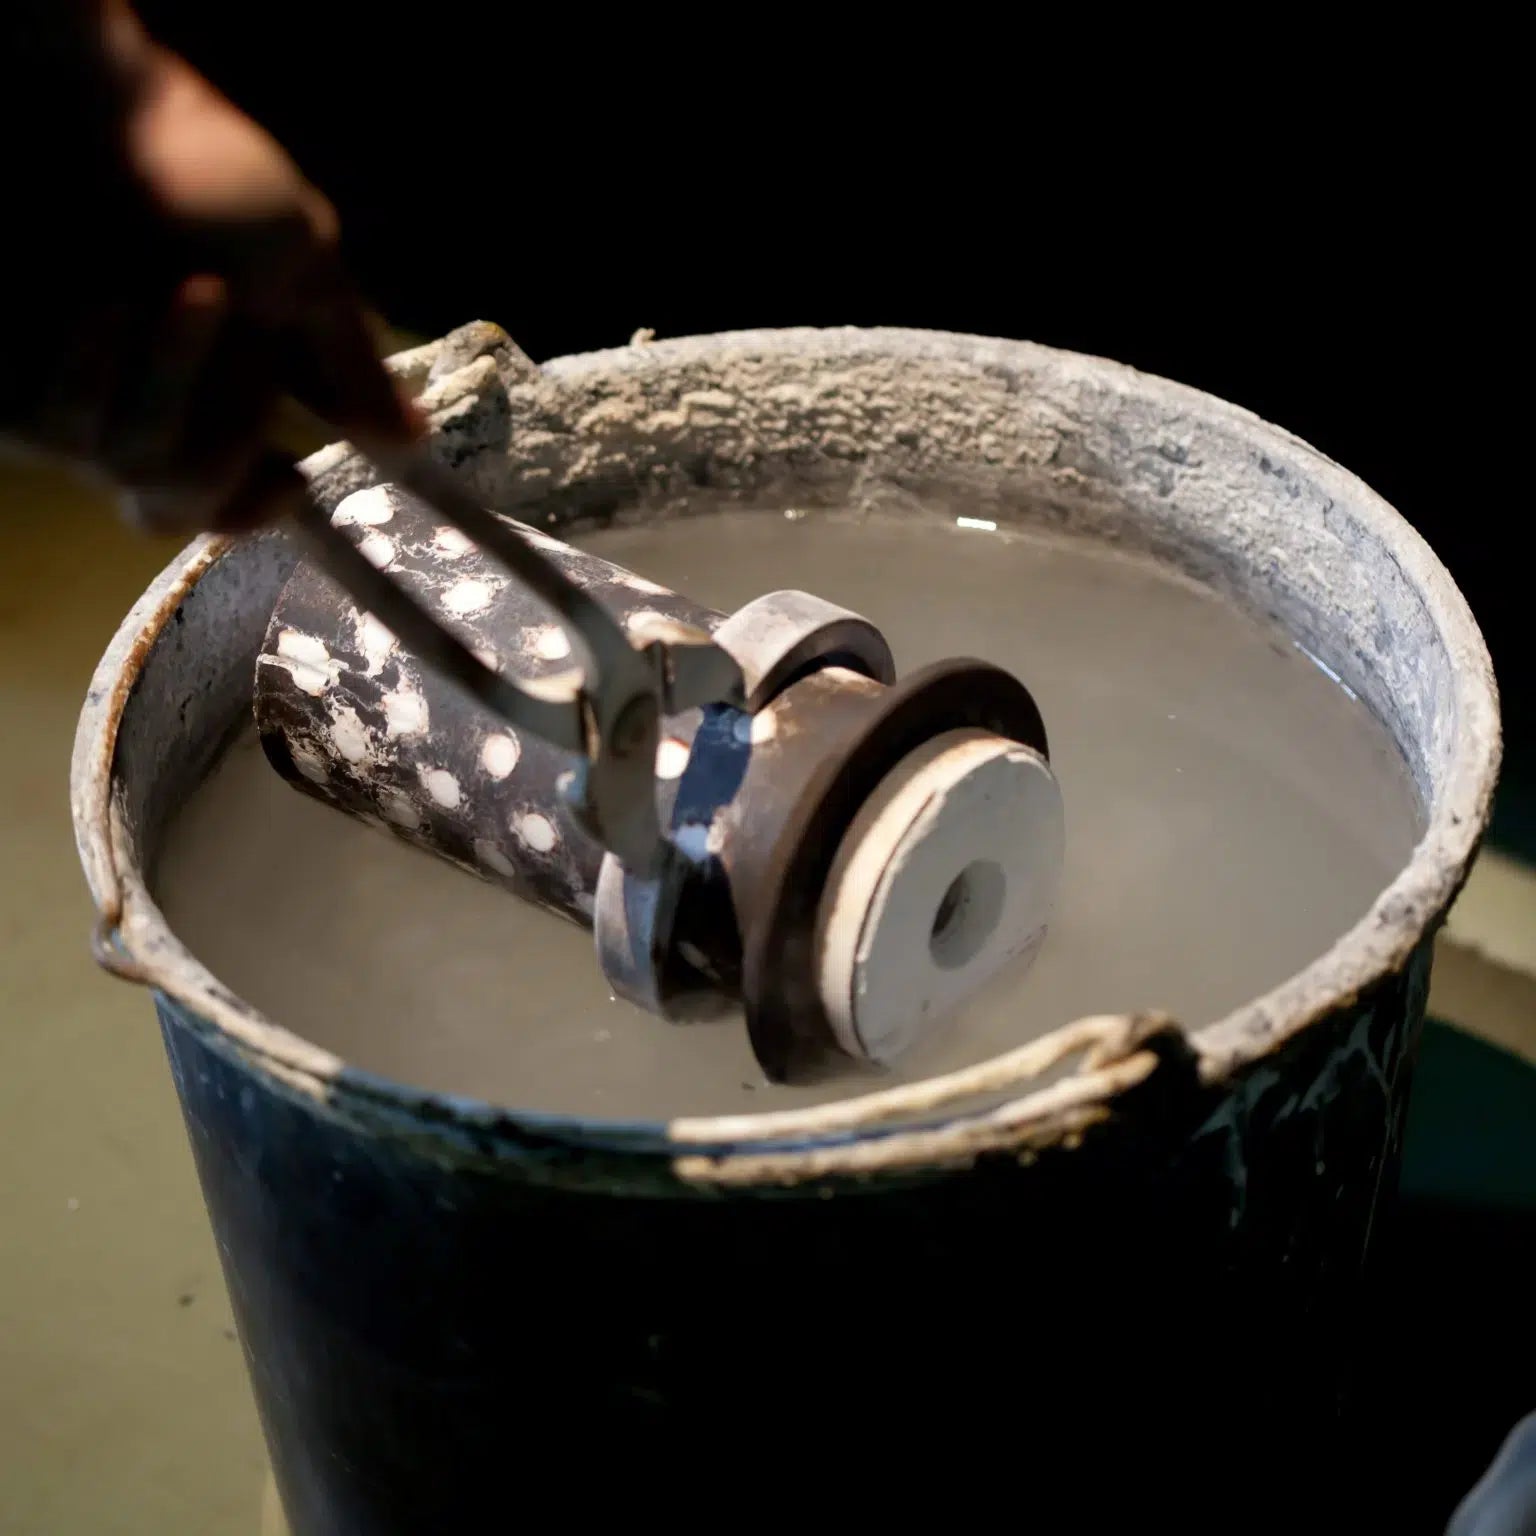
Step 4: The smelting
Le fondeur commence ici le travail de « fonte à cire perdue ». La première étape consiste à recouvrir l’arbre en cire de plâtre avant de le placer dans un four. Sous l’effet de la chaleur, le plâtre durcit, la cire fond et s’écoule, laissant à l’intérieur du moule l’empreinte du bijou. L’or 18K est fondu et versé à l’intérieur du moule en plâtre. Ce dernier est ensuite plongé dans un bain d’eau froide afin d’être brisé et de libérer le bijou en or.
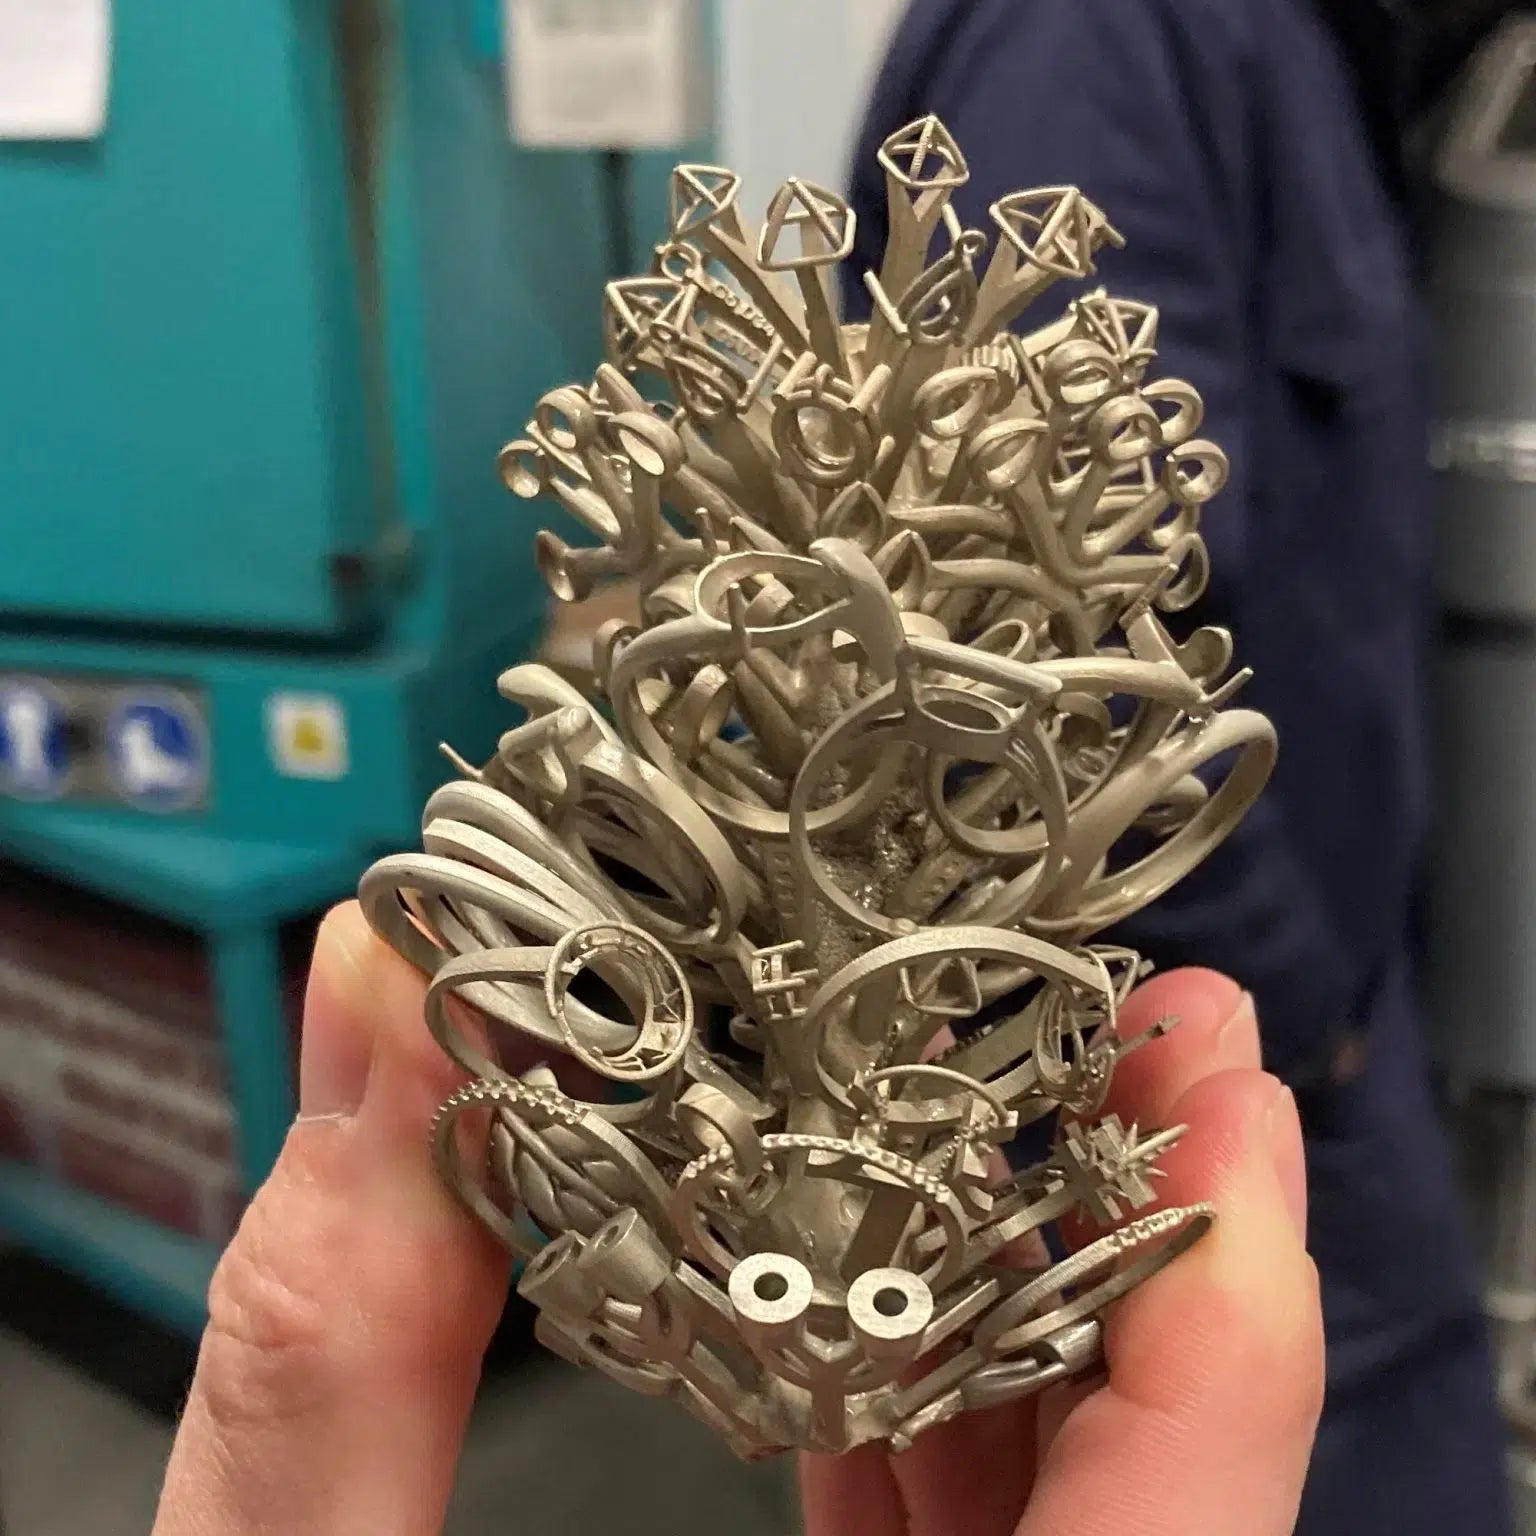
Step 5: The recovery of smelting
The gold jewel liberated from its mold is still stuck to the original tree wax-up. The jeweler has to detach each piece one by one. Afterwards the finishing after casting is necessary to clean, file, and fix small imperfections. The jewel setting is ready.
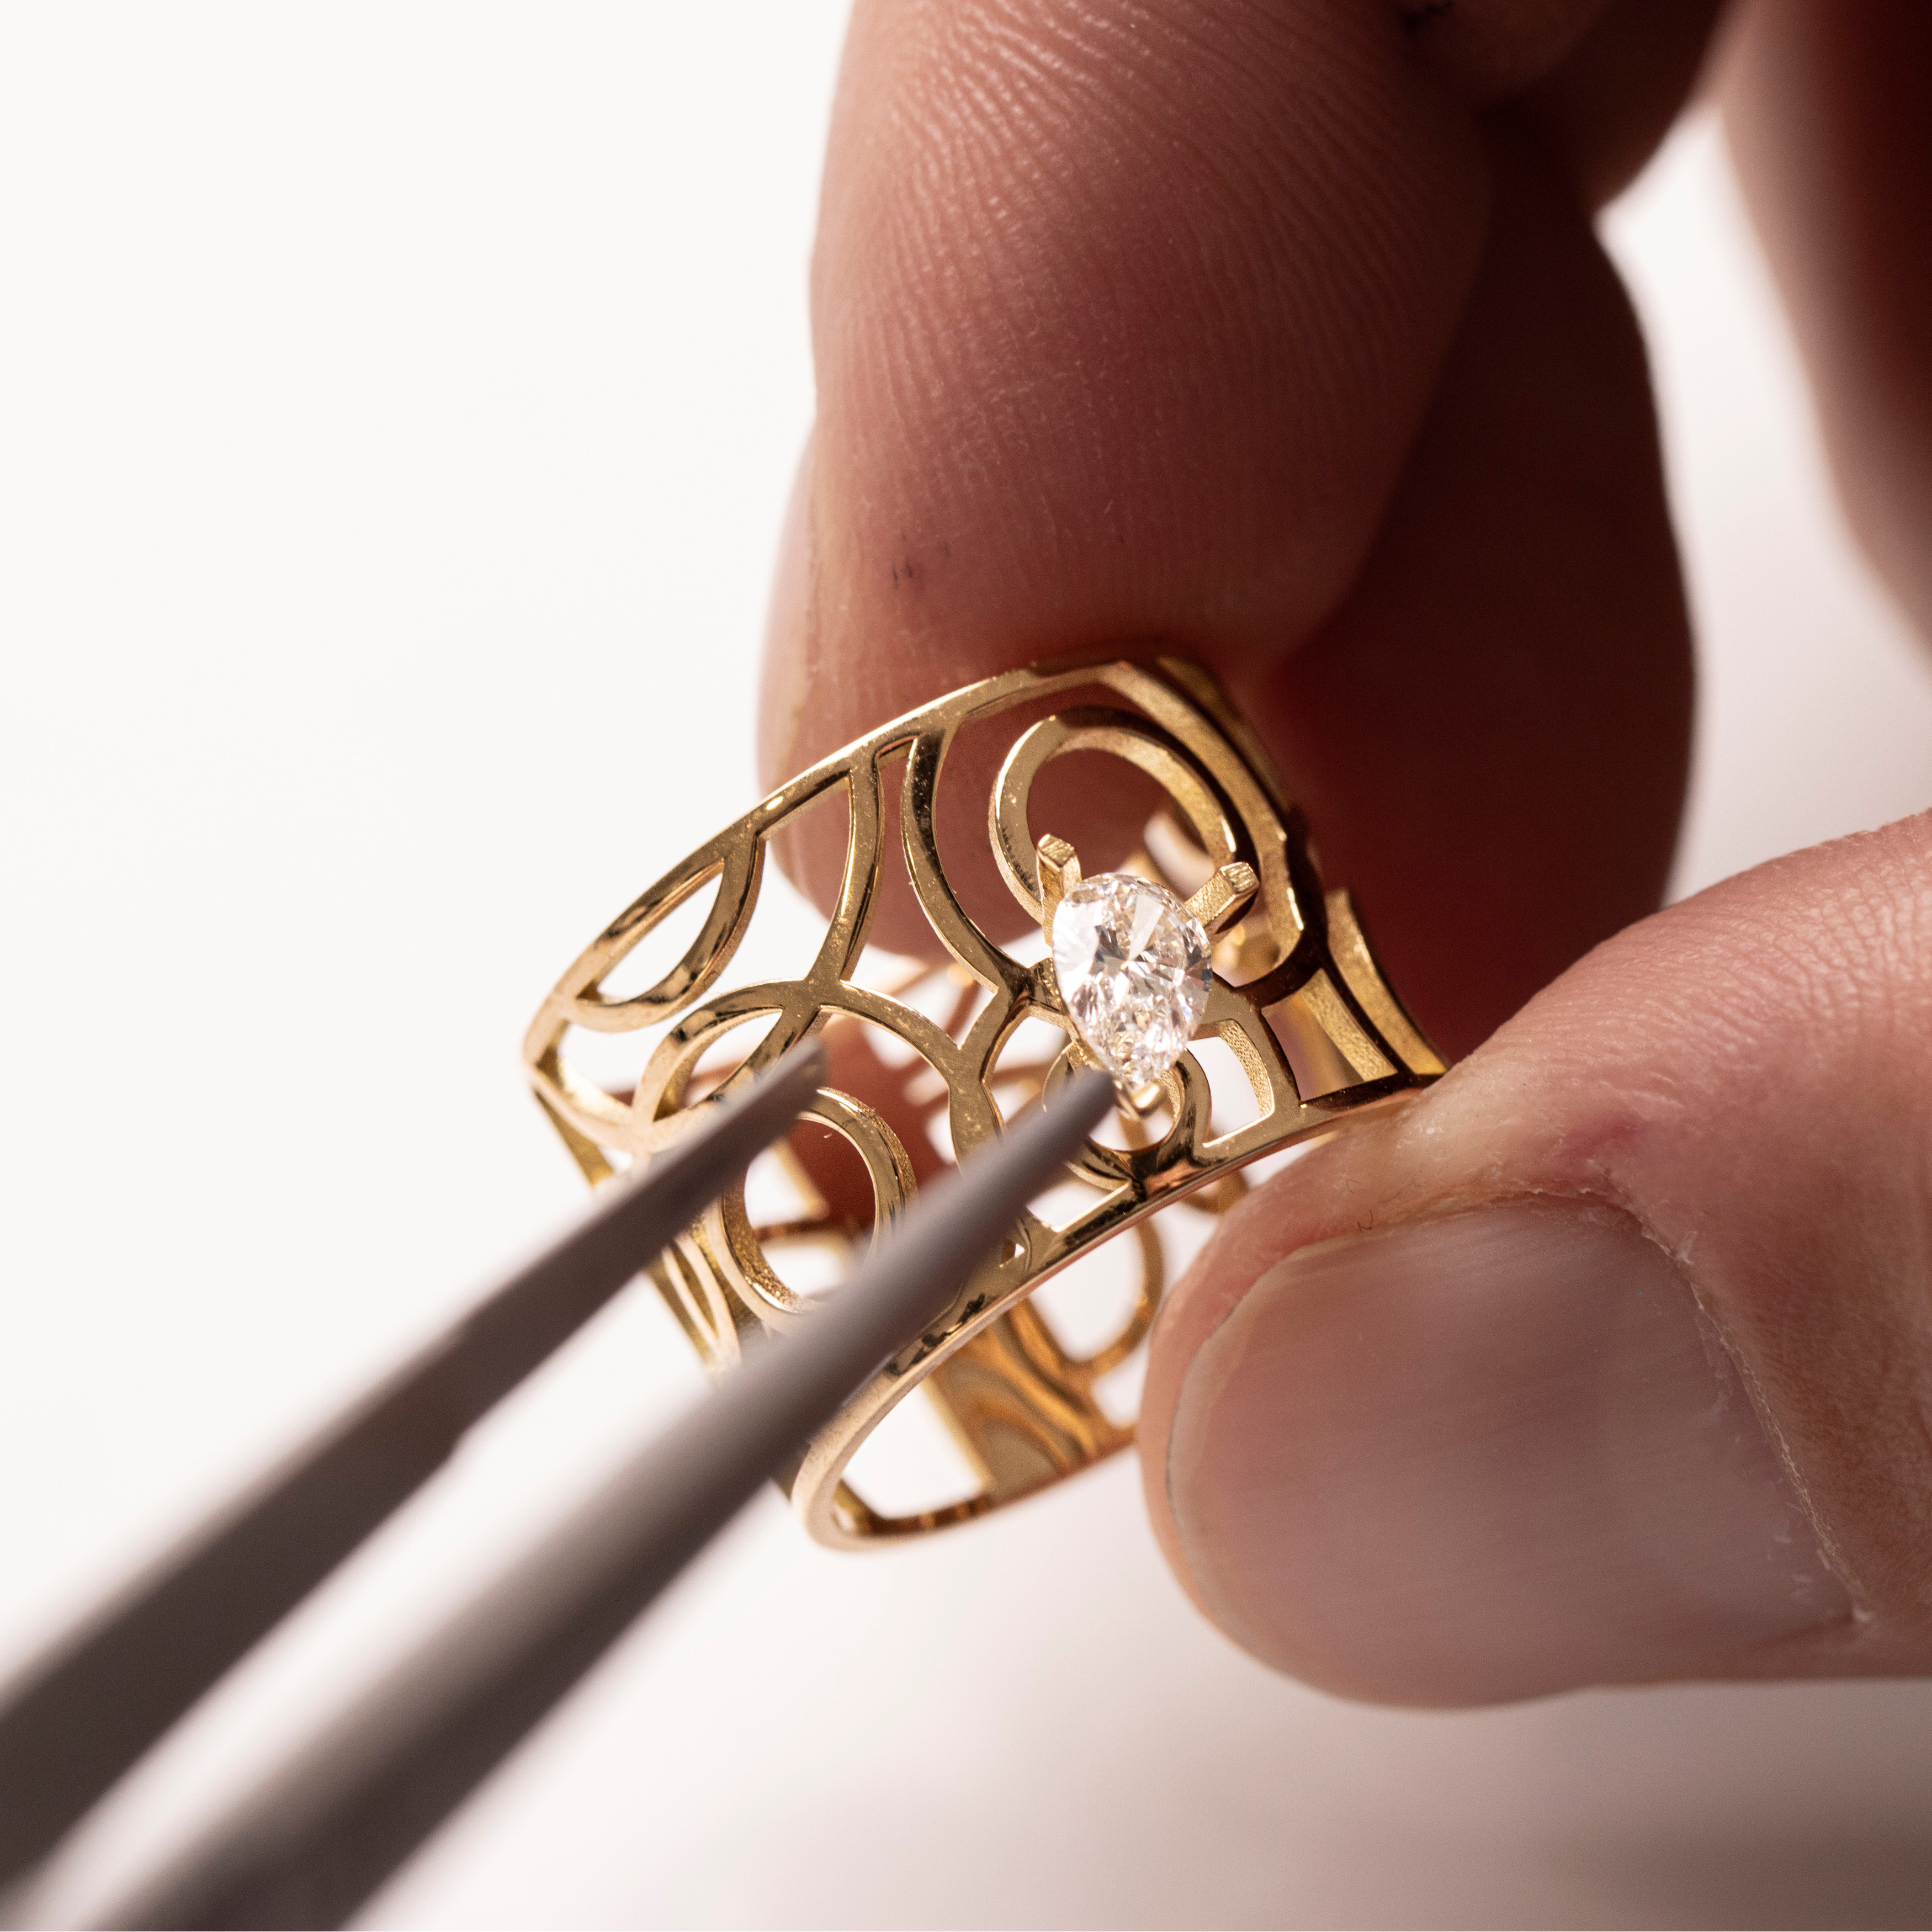
Step 6:
Crimping
The jewel is then passed on to the setter. He/she puts our lab-grown diamonds on the gold setting. This thorough step is particularly complex because there are a multitude of crimping methods : claw, sealed, granule… The ultimate goal is to emphasize the gem as much as possible, all while guaranteeing a perfect setting.
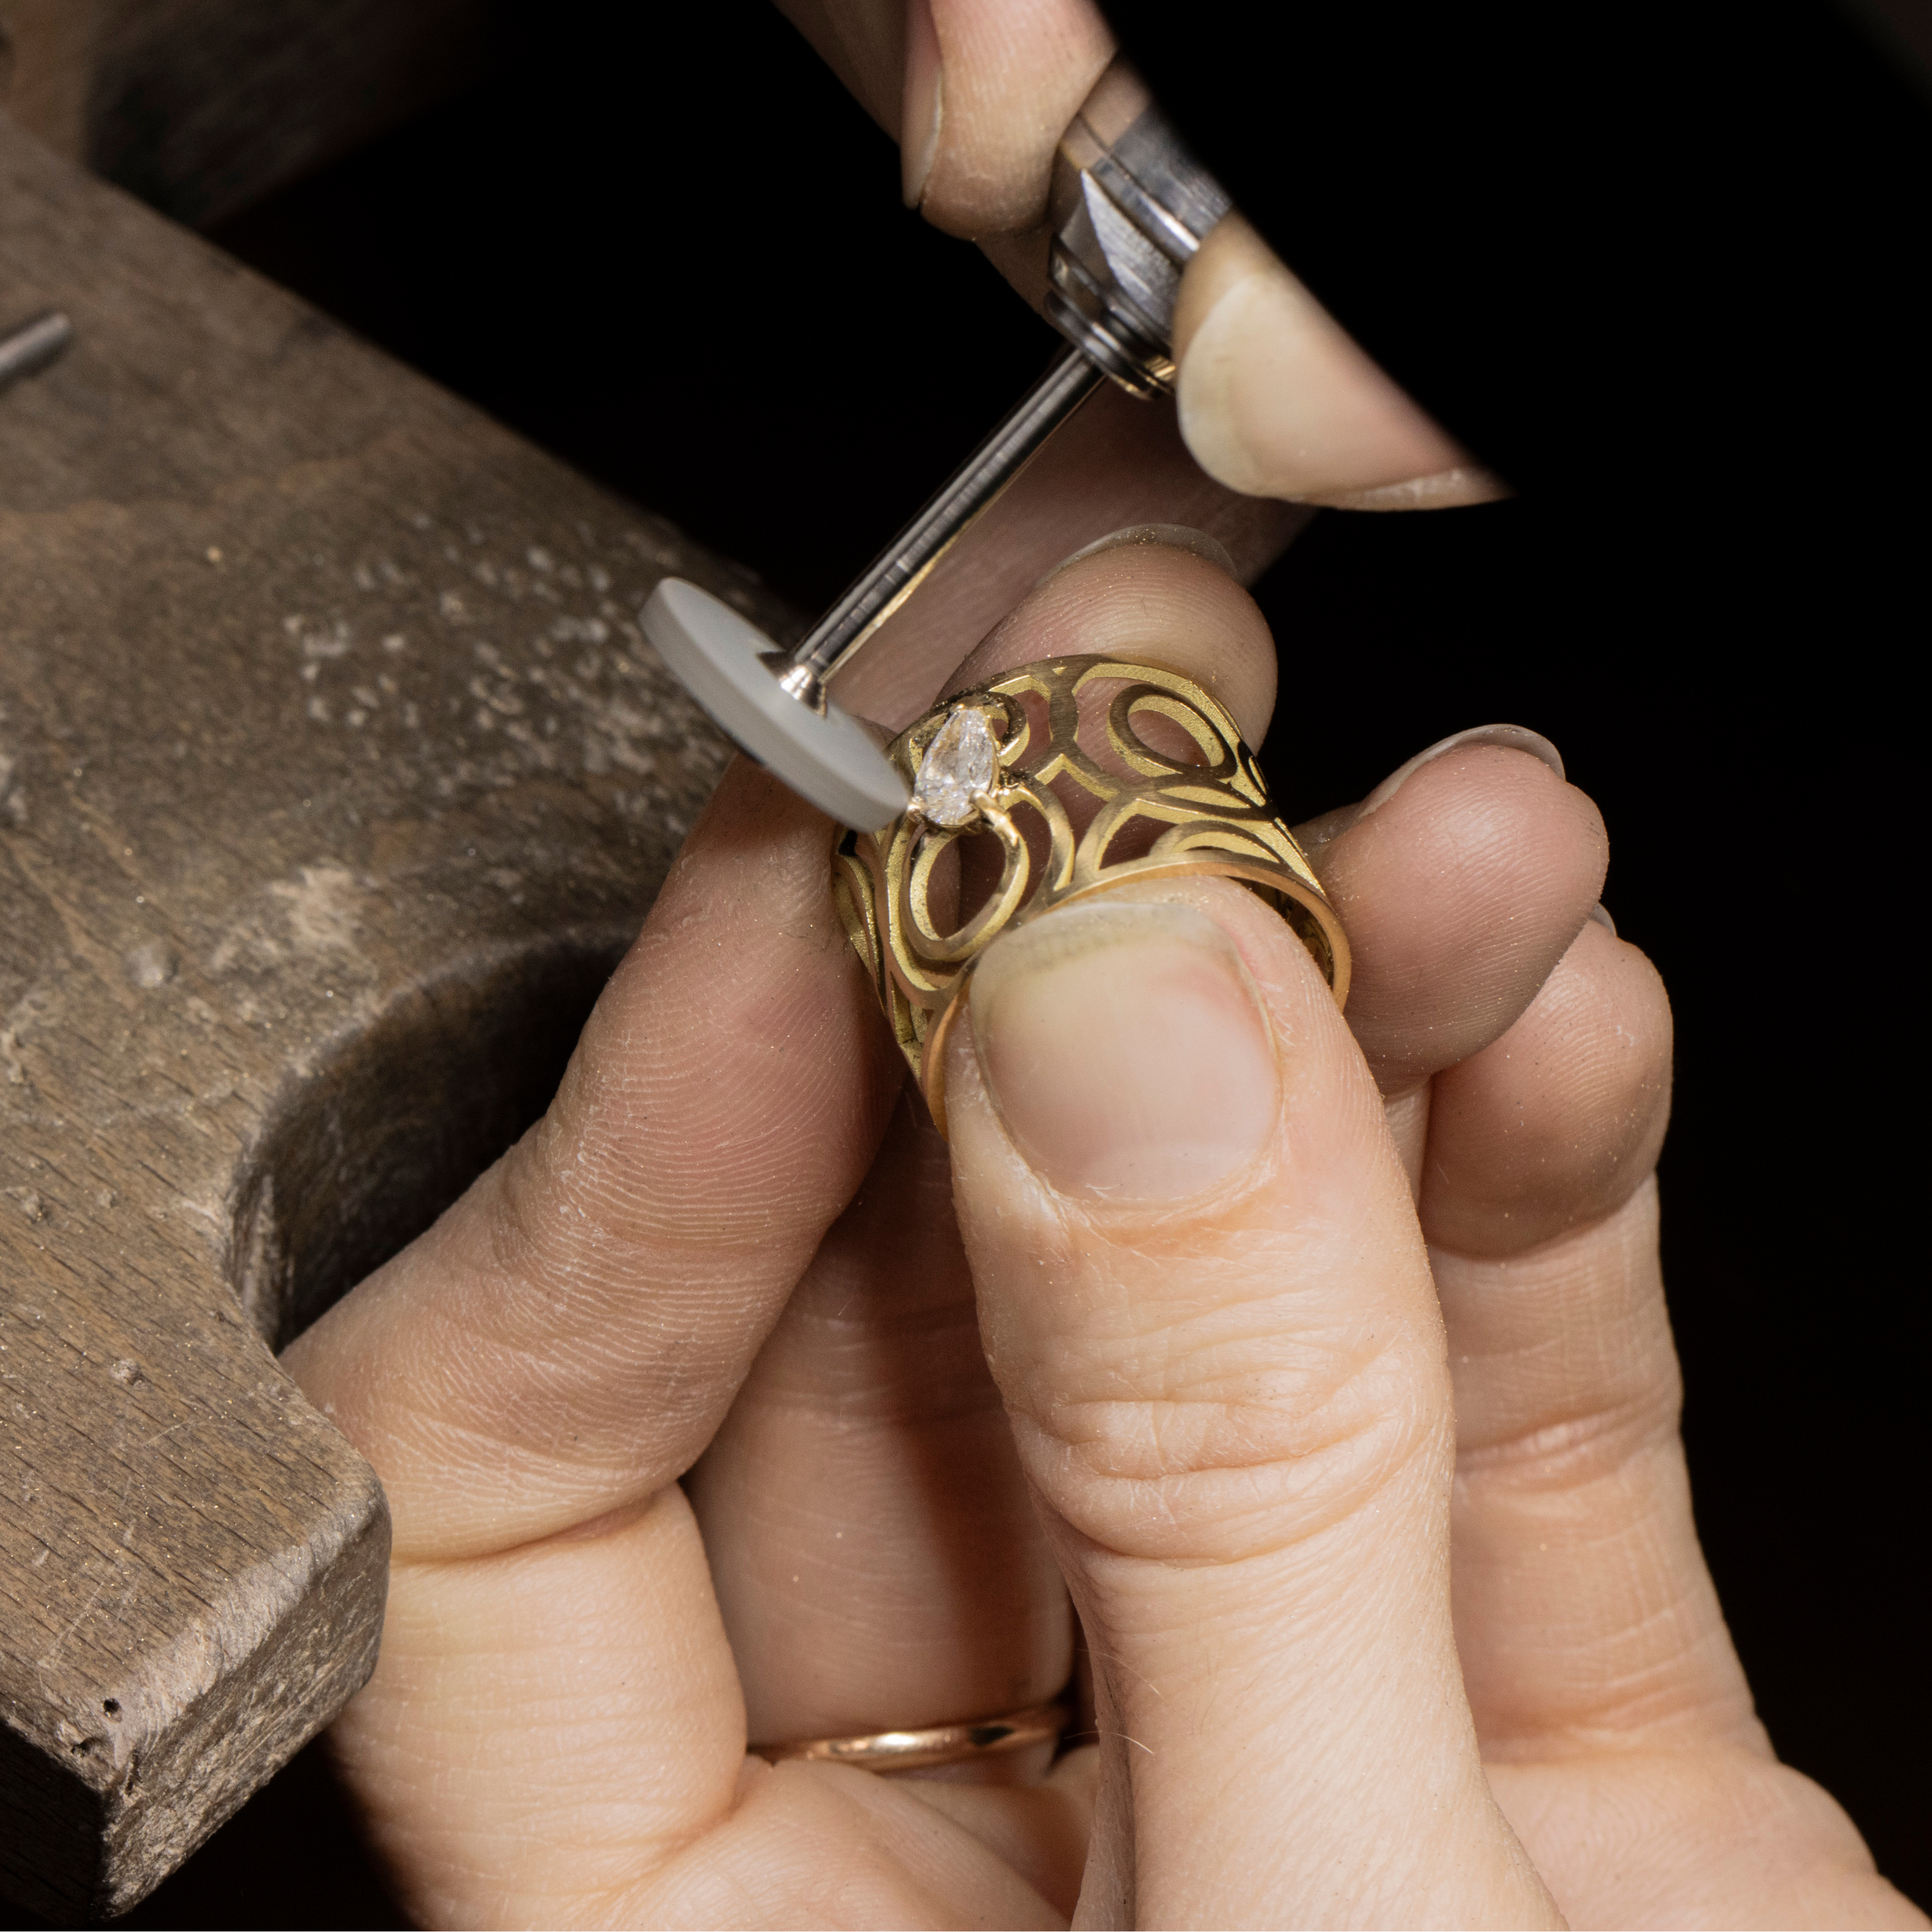
Step 7: burnishing
The last step is to erase all the smears that the artisans could have left on the jewel while working on it. The gold is perfectly smooth. The diamonds sparkle brilliantly. The jewel is ready !

